Getting started
Set up a garden and start keeping track of what you grow.
Updated October 8, 2026
Start with a name and the plants you grow. You can add details as you go, and change them later.
Choose where to begin:
- You don’t have an account yet — start below.
- Someone invited you into their garden — your path is different and much shorter. Read you were invited to a garden.
- You’ve just finished setting up — see your first week.
Getting an account
You can browse public gardens and published techniques without an account. Create an account to follow gardens, comment, accept invitations, or start your own garden. On the sign-in page you will see either Create an account or Request access, depending on whether sign-ups are open at the moment.
The setup wizard
Once you are in, Grow Food Together walks you through four steps. You can skip setup if you want to explore first. Within setup, areas, plants, and photos are optional.
1. Where do you grow?
A name for the garden, and optionally where it is.
The name is prefilled with yours; change it to whatever you actually call the place. The location is shown publicly if your garden is public, so a neighborhood or a city is enough — there is no reason to give a street address.
If you are in the US, type your ZIP and Grow Food Together fills in your hardiness zone, which describes winter cold in your area. You can leave it blank if you are unsure. Check it before relying on zone-based planting suggestions.
There is also a checkbox that puts your garden on Explore, where anyone can find it. It is ticked by default. A public garden shows your plants, your log and your photos, harvests, shed, and costs to visitors. Assistant conversations are visible only to garden members. You can turn it off here or in settings at any time. Details are in sharing, roles and public gardens.
Only this step creates the garden. If you go back and forward again, you will not end up with two.
2. Where will you plant?
Up to three areas, from one-tap presets: Raised Bed 1, Containers, Back Garden. Rename them, change their kind, or leave rows blank to skip them.
An area is anywhere you grow — a raised bed, a row of containers on a balcony, a greenhouse, a patch of open ground. Areas are how the app groups things for you: plants live in an area, so you can water a whole bed in one go instead of plant by plant.
Not sure yet? Skip it. Plants do not need an area, and you can add areas whenever the garden takes shape.
3. What are you growing?
A grid of common crops — tomato, lettuce, basil, pepper, cucumber and a dozen more. Tap everything that is in the ground or about to be, set how many of each, and choose which area they are going into.
Those tiles are a shortcut, not a limit. Anything in the catalog can be added afterwards, and anything not in the catalog can be typed in.
Set the quantity to what you actually planted: six lettuces creates six plants, so you can track them individually rather than as a lump. They are recorded as planted today, so the garden opens with things growing rather than a list of plans.
4. Add a photo
Add a photo to begin a visual record of your garden. You can compare it with later photos as the plants grow.
Then what?
You land on a page with four suggestions, and then on your garden.
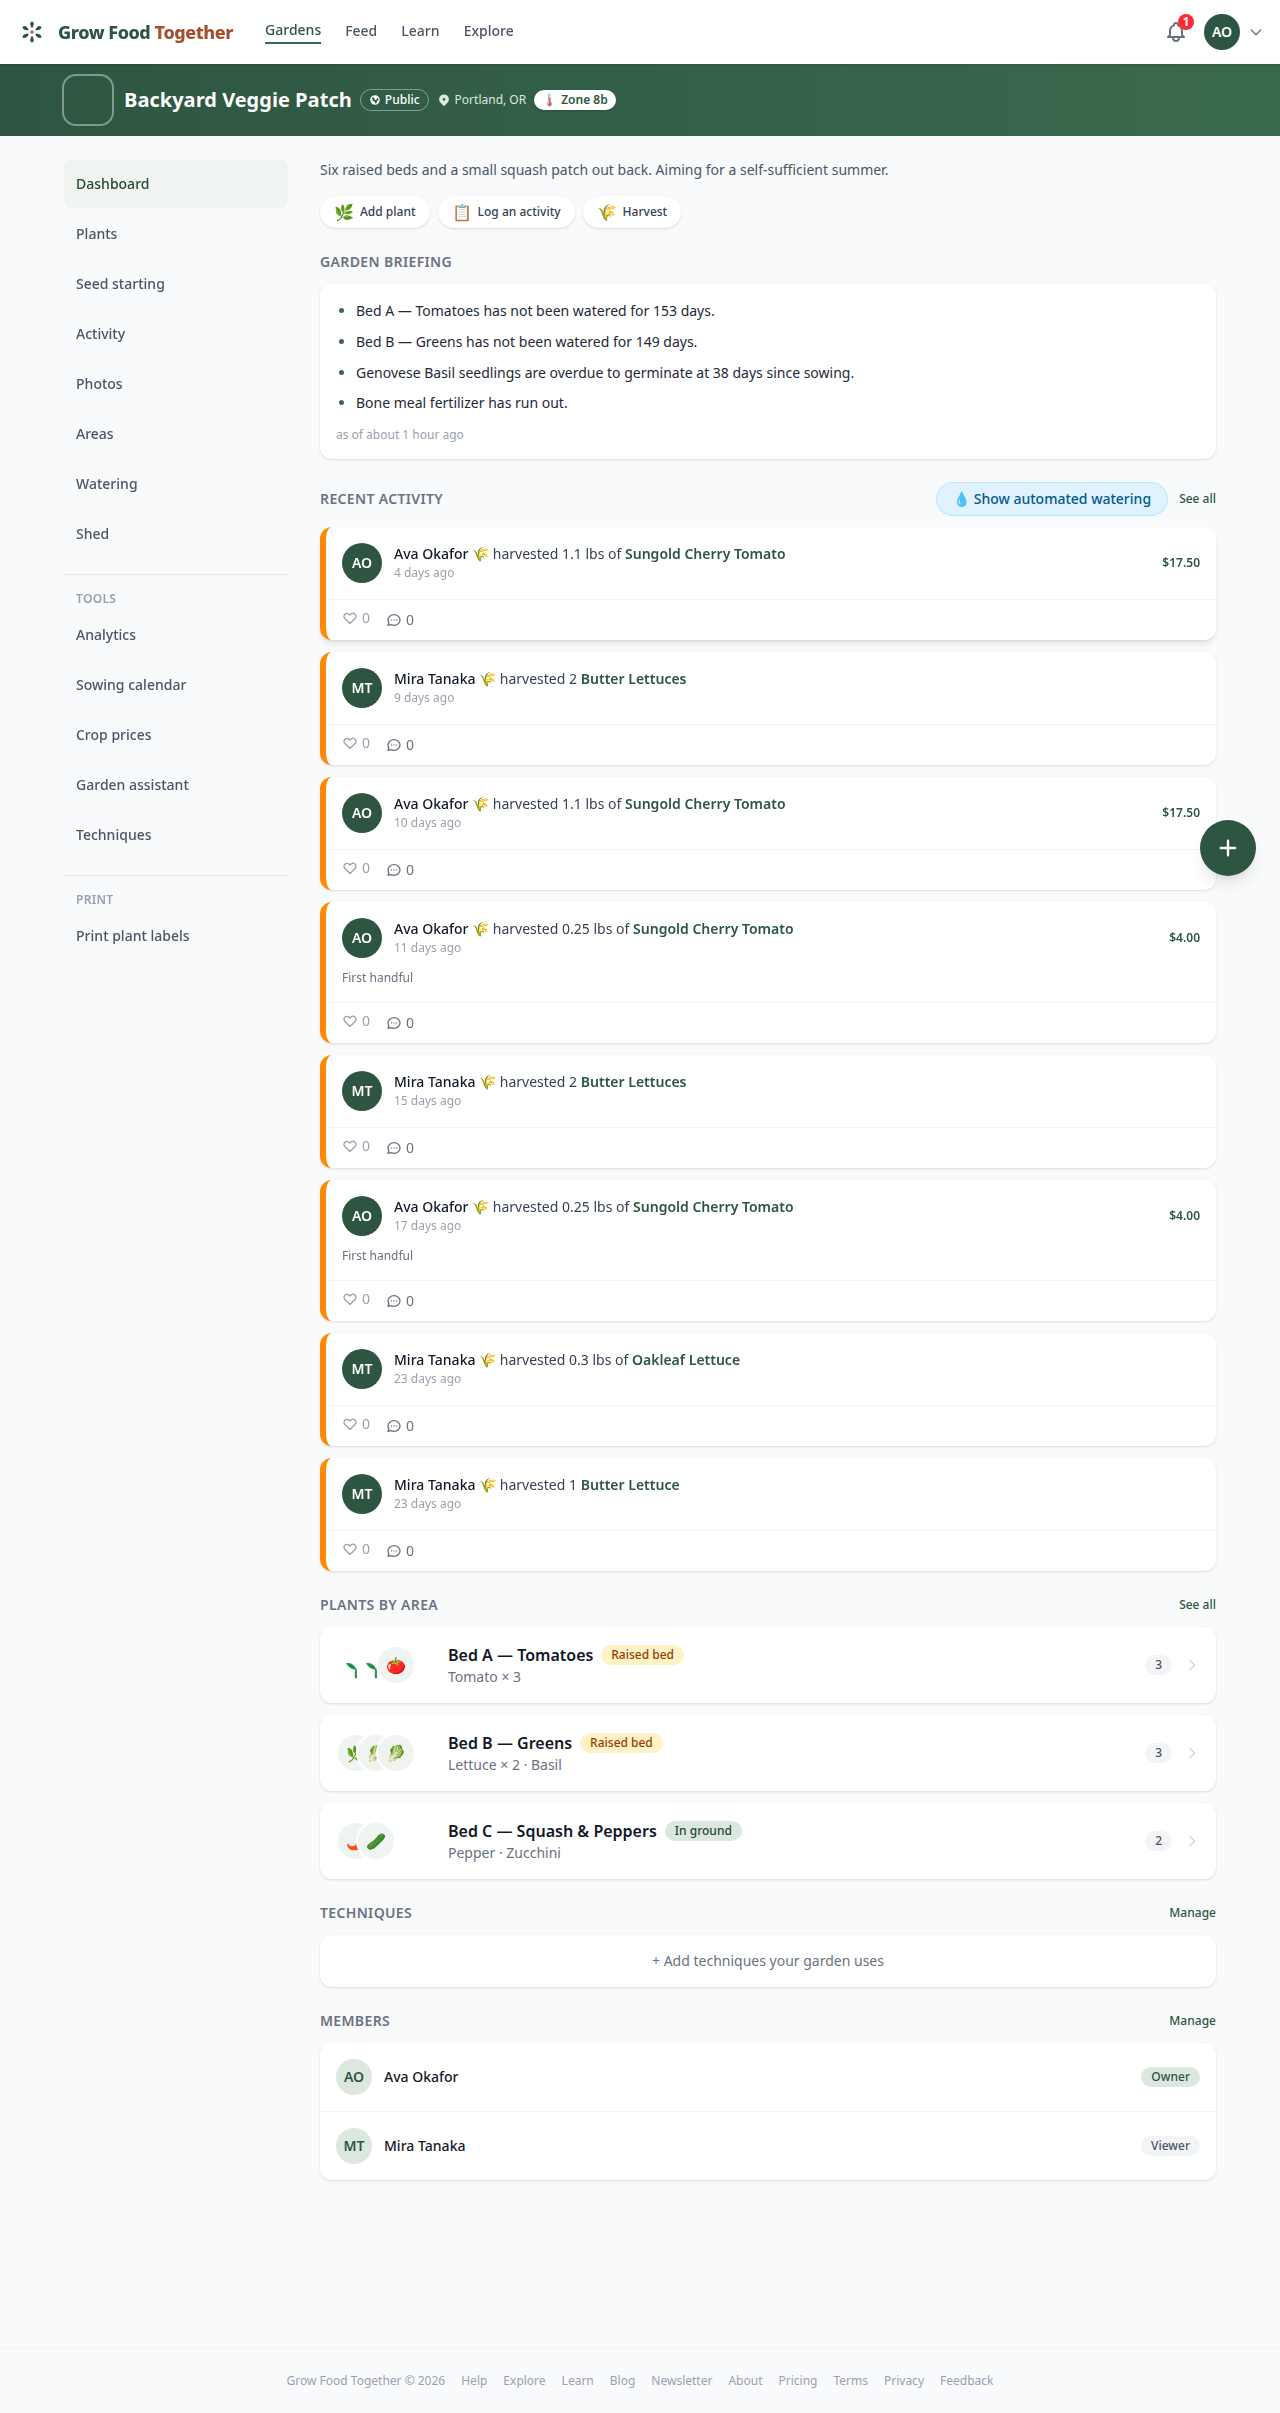
You can rename the garden or change its visibility in settings. Add or edit areas from the garden as it develops. Check deletion prompts before removing records you want to keep.
What people actually do in the days after setup is in your first week. If you will mostly be using it in the garden, put it on your phone’s home screen first — using it on your phone says how, and what it does without signal.
Didn't find what you needed?
Sign in to send us a note, or read about Grow Food Together and what it costs.